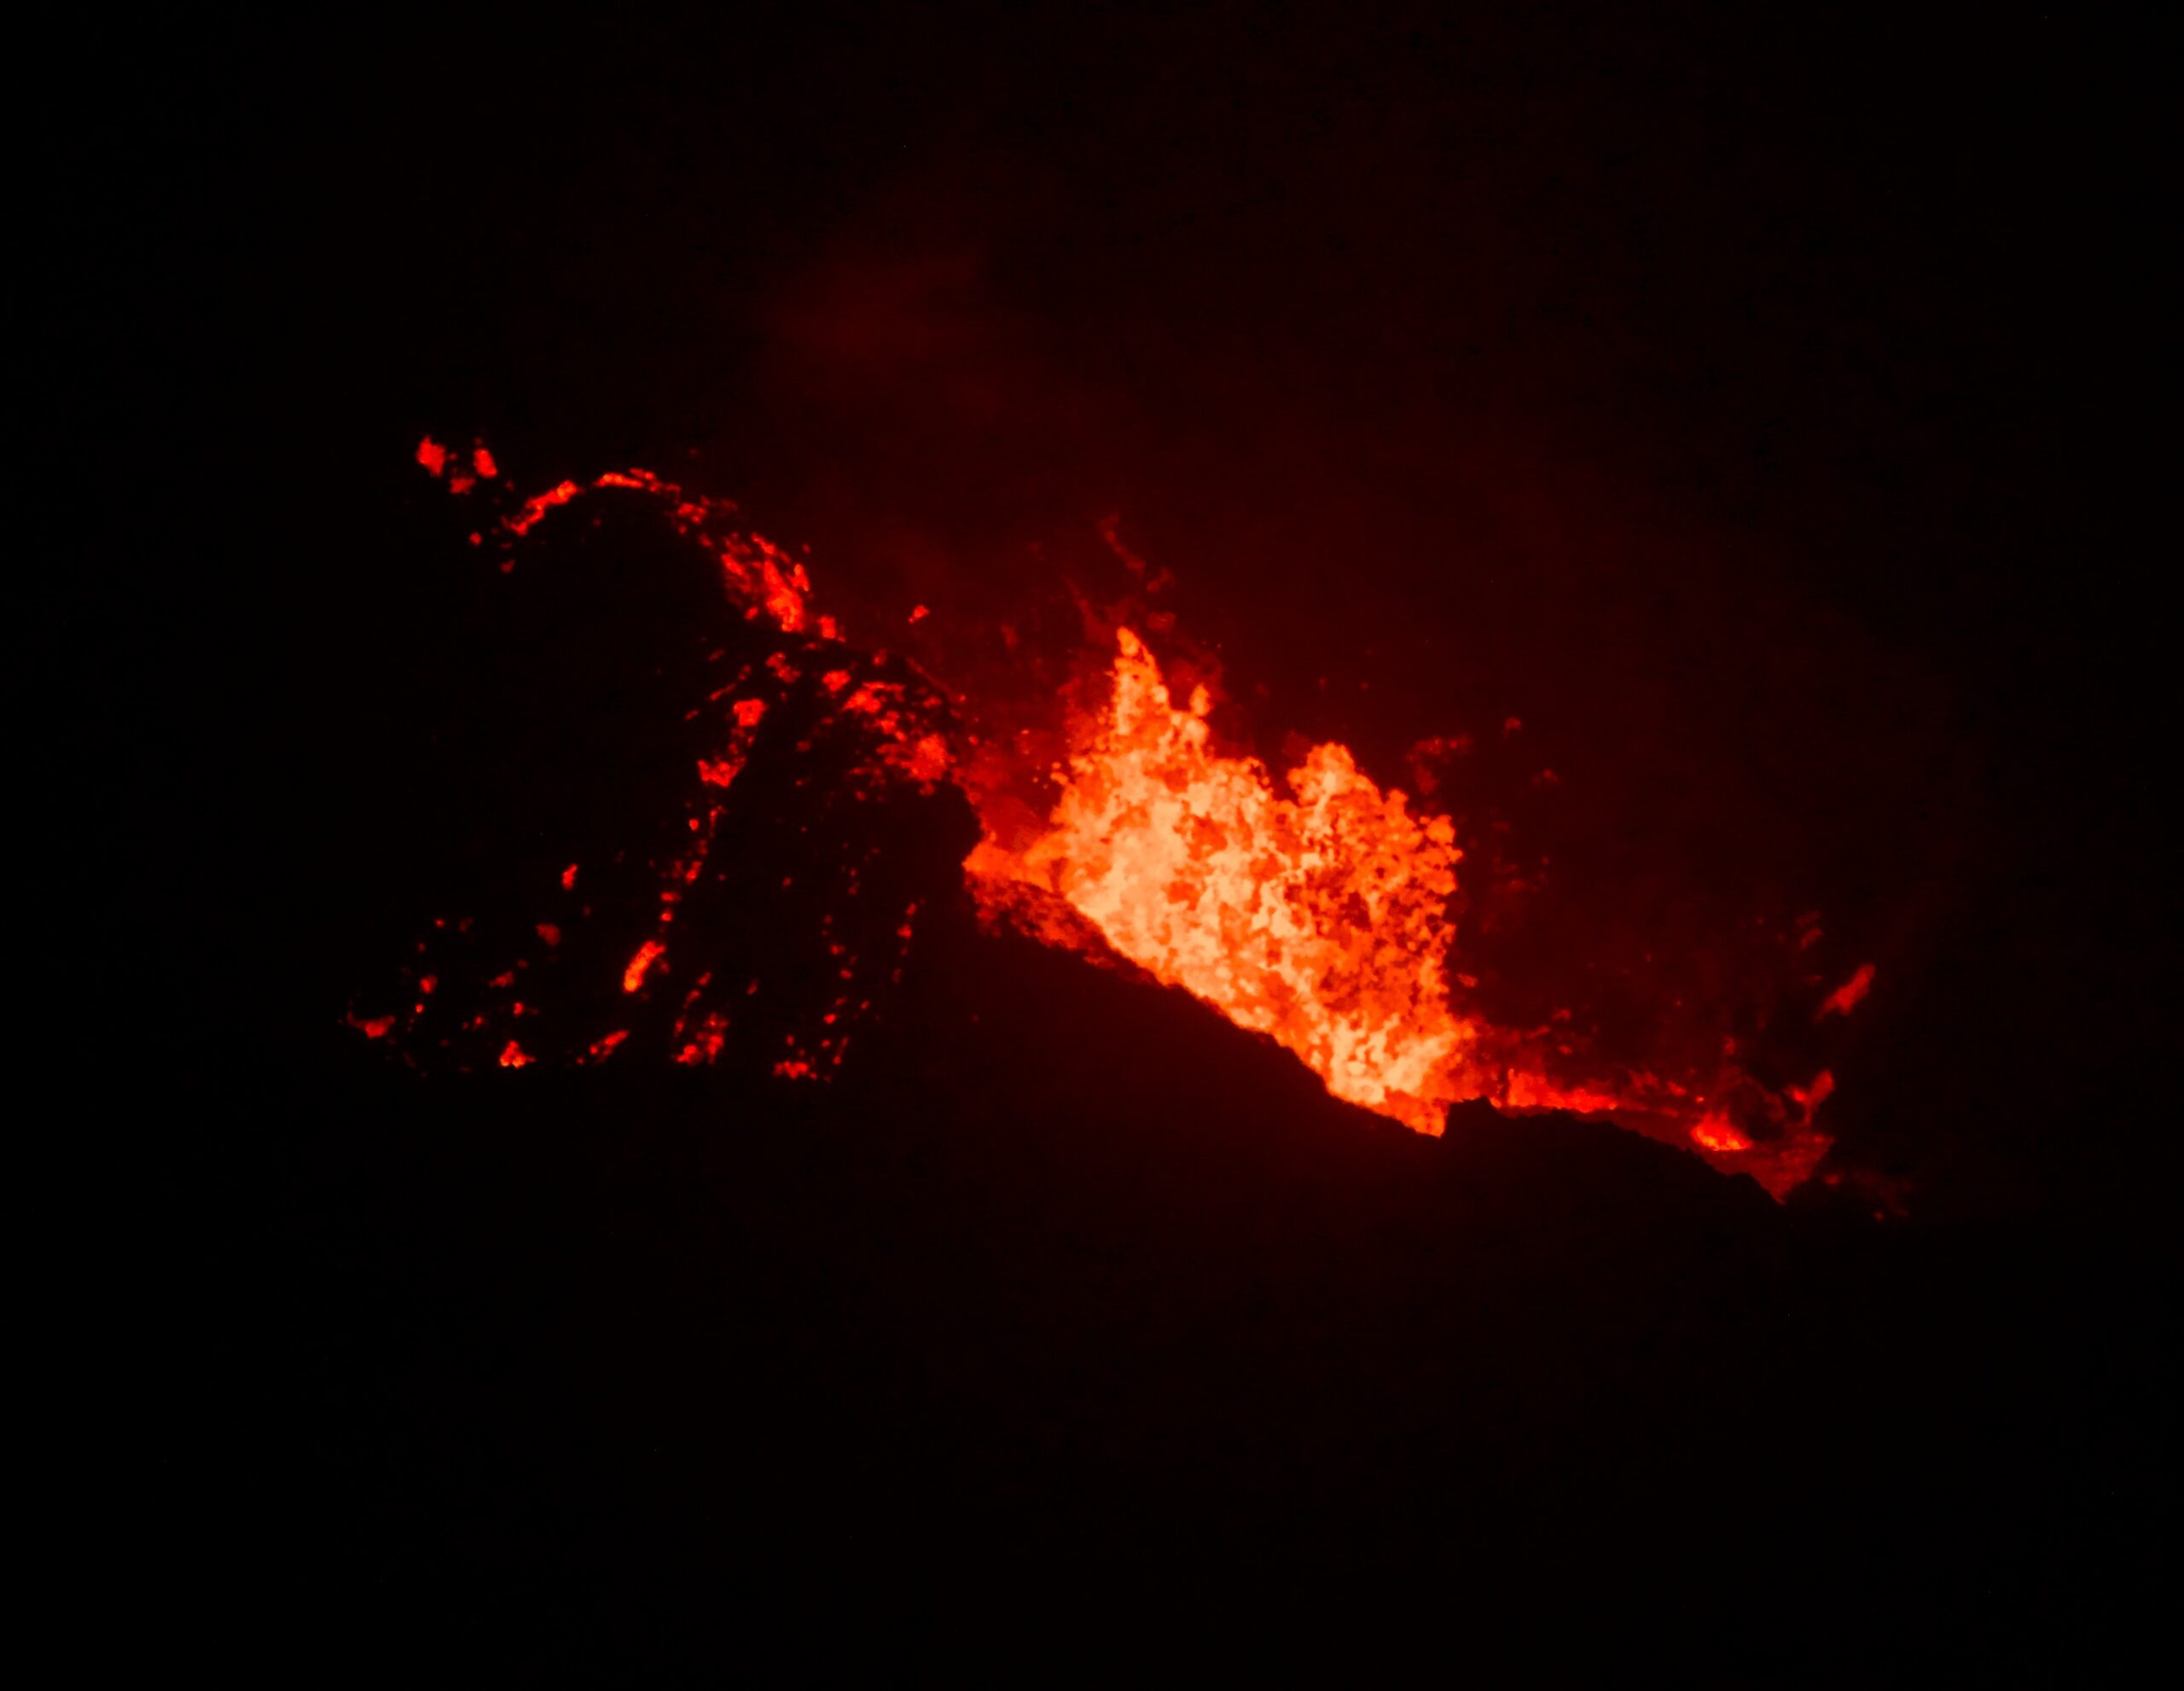
Pele’s home, Halemaʻumaʻu crater, is one of the most enchanting places on earth and we’re lucky to have the lava flowing steadily and safely again.
Viewing the active caldera can get confusing, especially at night, so I put together this short guide to help photographers and looky-loos alike visit safely and responsibly.
Lava viewing directions:
From the HVNP font entrance, make the first left past the gate and take Crater Rim Dr. all the way until you reach a T in the road. Take a right into the parking lot and get ready for a short (~2mi) hike. Map of viewing area below.
While it’s true you can see some of the action from the Jagger museum side, I highly reccomend skipping that viewing angle entirely.
Before going, check the Hawai’i Volcanoes National Park’s website for any closures, warnings, or more info on exploring the park. All the staff, and people in general are really helpful up there so don’t be timid if you’re lost.
Reccomended viewing times:
My favorite overall time to go is around 11pm because I lean more towards astro photography and enjoy dodging crowds. If you’re a sunset chaser you can never go wrong with that but you will be fighting crowds so be aware. If you’re a go-getter sunrise is the one.
Bring:
water
hiking boots
head lamp
warm clothes
binoculars
camera
buddy
Photo tips:
The main viewing area is a solid spot, take advantage of the front center if it’s open. Some people hike past the main spot… be careful.
When taking selfies and/or group photos, try facing the lava and using the glow as your light source. Everyone turns red and it can make for some really unique portraits.
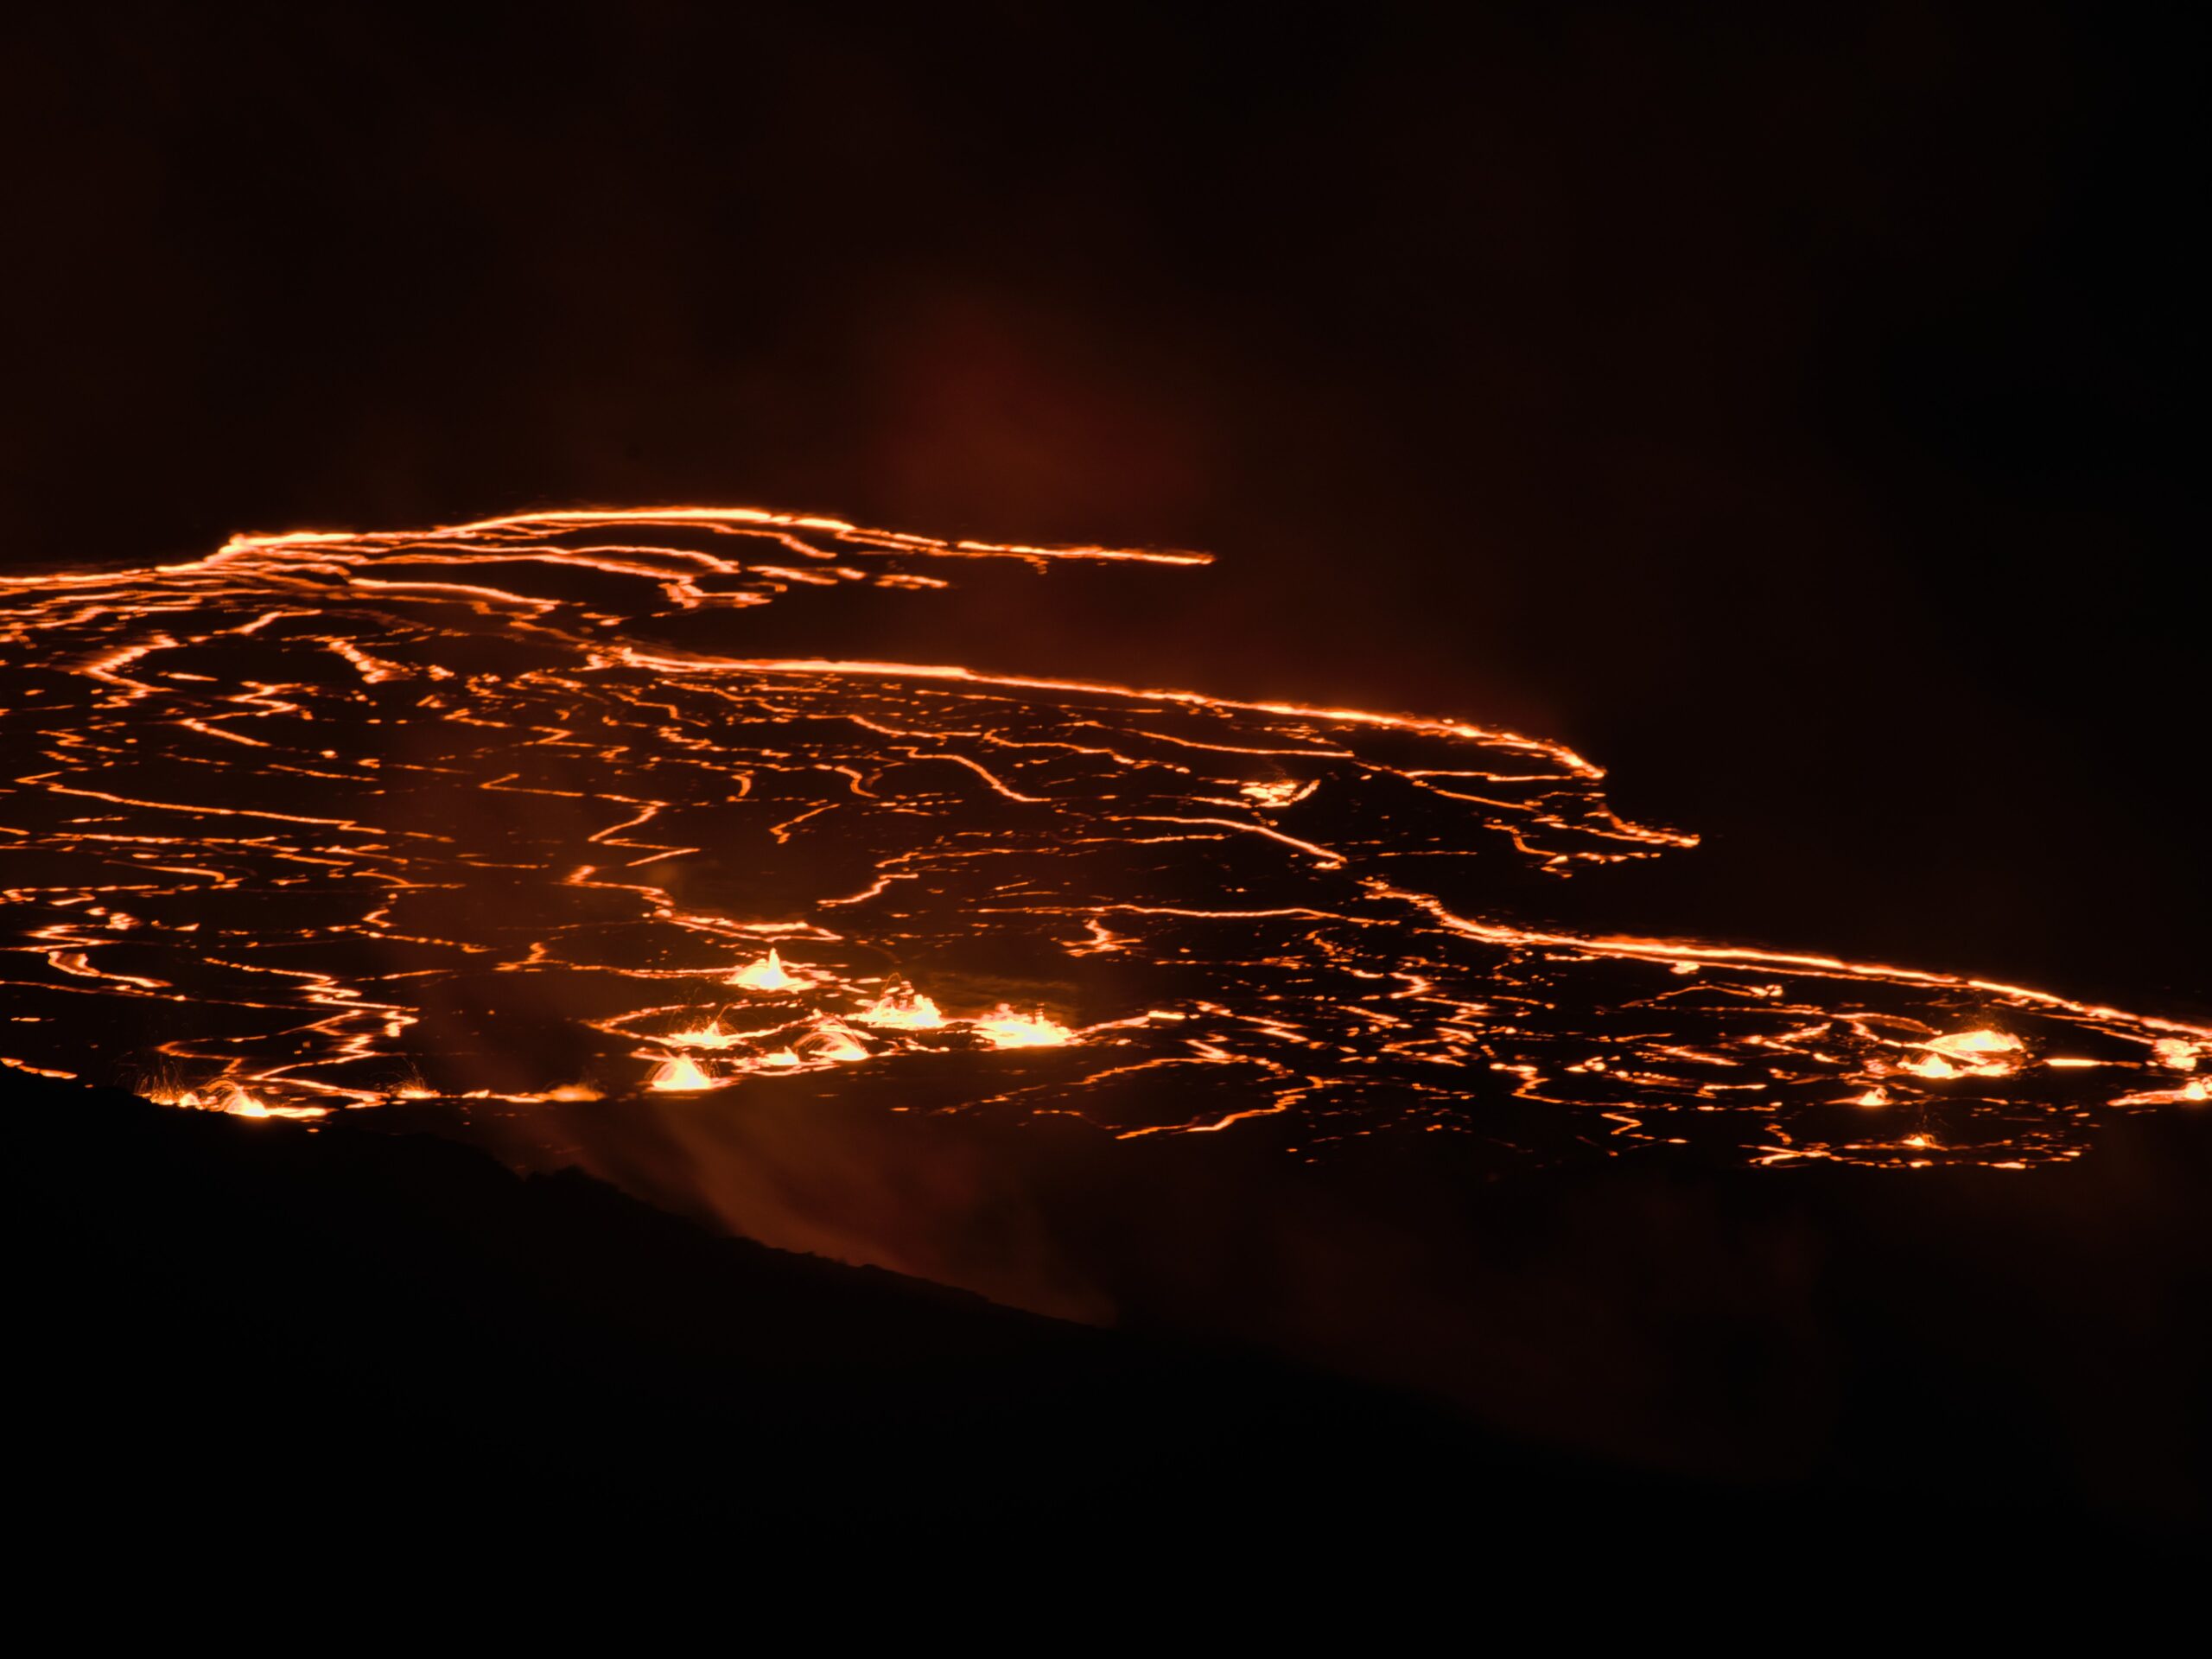
Don’t neglect your wide lens. Right when the trail opens up and you can see the glow there are some great spots off to the right for fun wide astro + lava shots. Same goes for the left but less glowy.
Take off your UV/whatever filter, most filters will cause ghost orbs when shooting lava, similar to a candle. Try shooting a candle before finalizing your gear.
It’s windy up there so plan to stabilize accordingly. I use a heavy tripod and stone bag to keep my 600mm steady.
High shutter for lava spurts, low shutter for smooth fumes/lava
Take photos and videos. Sure you should focus on one, but don’t forget to get a little bit of whatever you’re neglecting.
That’s it, I hope you enjoyed this guide and I hope you get a chance to visit our amazing natural wonders safely.
Jordan Christopher
Camera nerd, editor, drone pilot, bug hunter
This page relates to production, videography, photography, editing, drone services, aerial photography, event coverage, location scouting, equipment rental, infrared photography, nature, hiking, exploration, travel, Hawai’i (Hilo/Kona), music videos, Big Island.